Black Friday

2× credits on credit packs and your first month. Yearly plans get 6 extra months of credits.

Ends Dec 1, 11:59 pm PTGet the deal

Blur Face in Photo: Cover Each Face Before You Post

Drag a box over each face in a group shot, family picture or screenshot and pick Blur or Pixelate. It all runs on your device, and you save a PNG or JPG: a free way to blur faces in your photos.

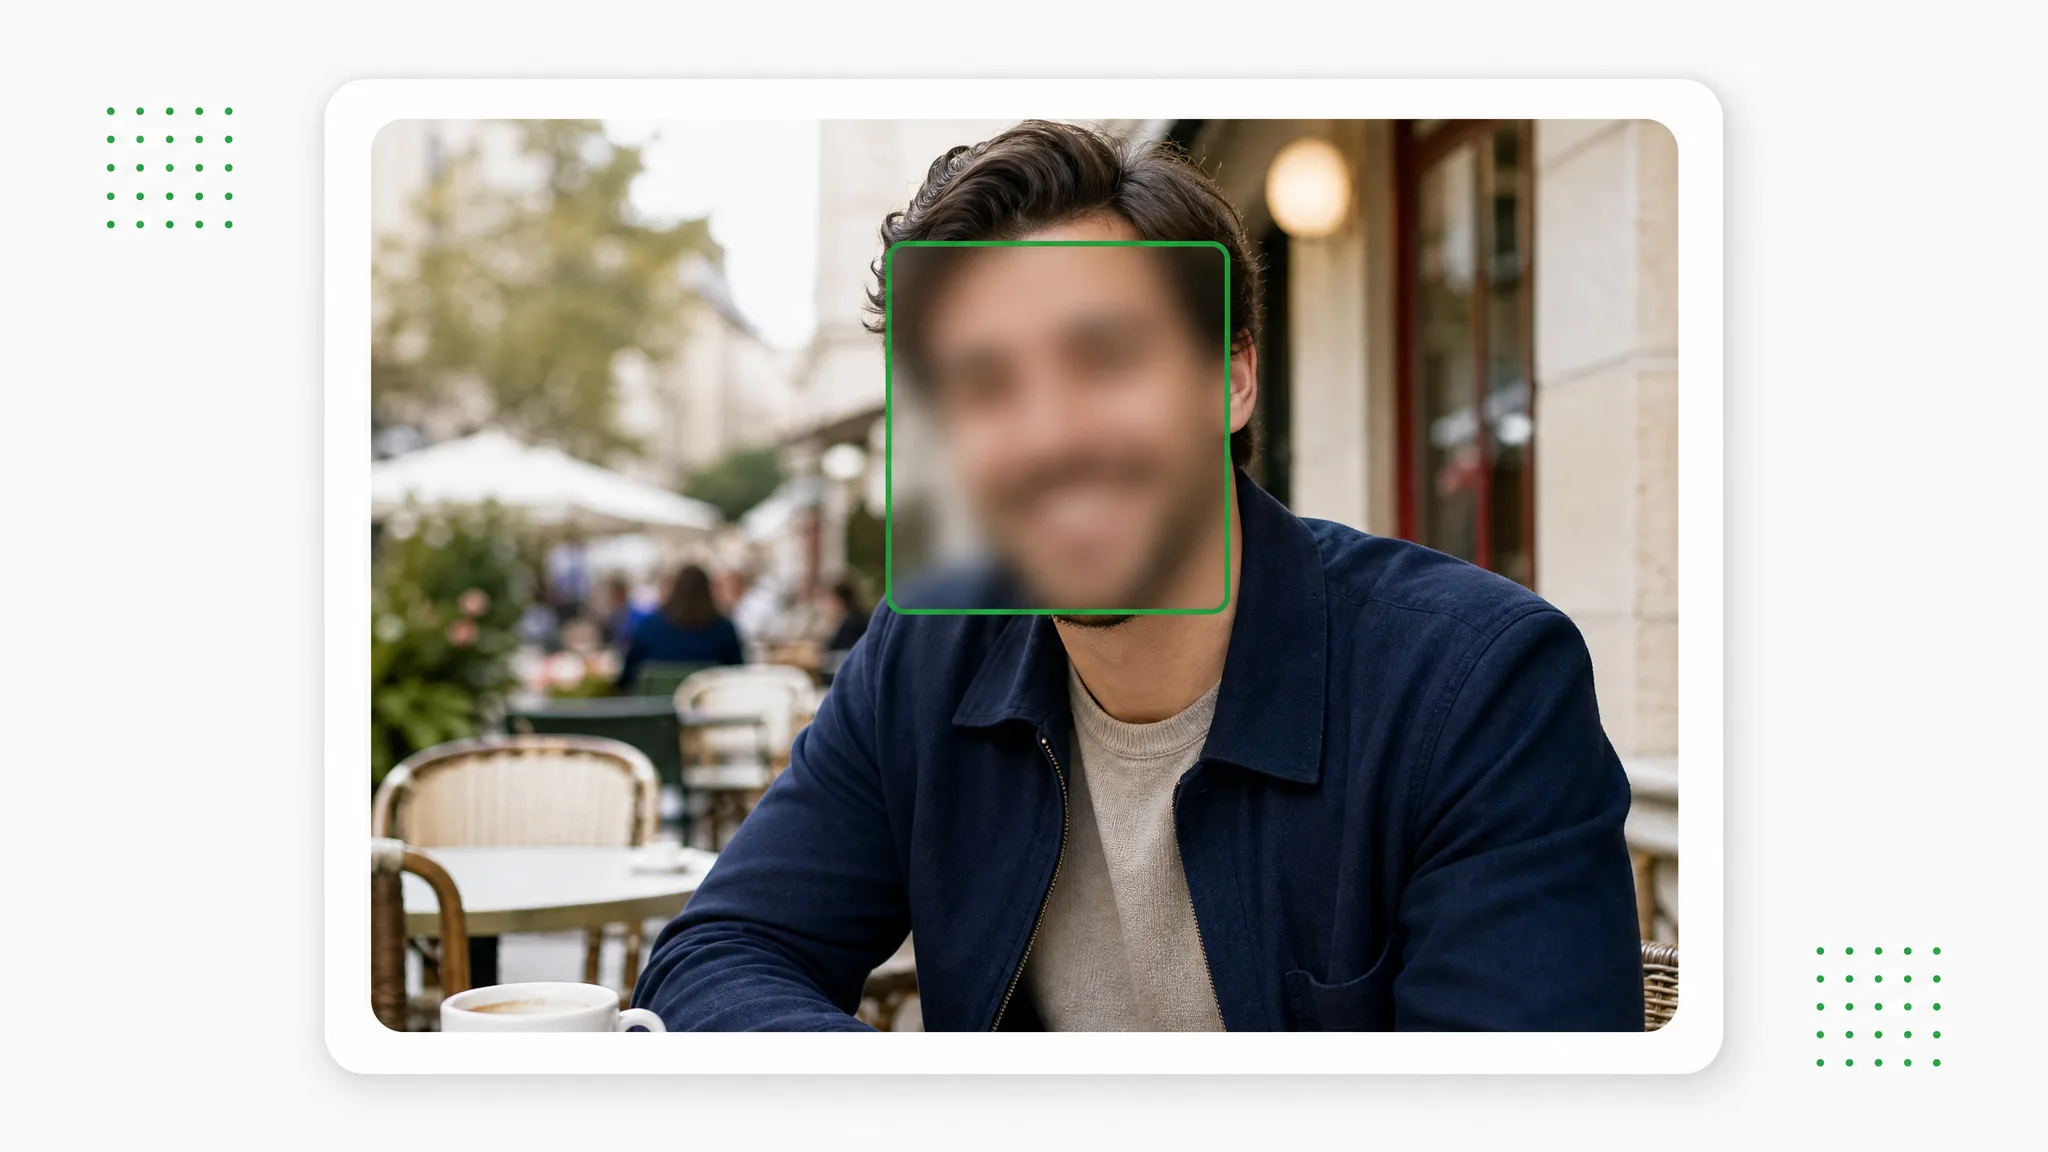
A smiling man at an outdoor café with his face covered by a blurred box outlined in green.
PhotoVideo
or drop a file herePNG, JPG, WebP
No photo? Try one of these:

Your photo never leaves your browser — it is processed entirely on your device.

  • Free
  • No sign-up
  • No upload
  • No watermark
  • PNG or JPG at full size
  • Runs in your browser

Before and after

Blur Face in Photo Results on Three Sample Shots

Drag each slider to compare a sample photo with its edited copy. One box was drawn by hand over the face and set to Blur or Pixelate; on your photo, only the faces inside your boxes change, and every pixel outside them stays as it was.

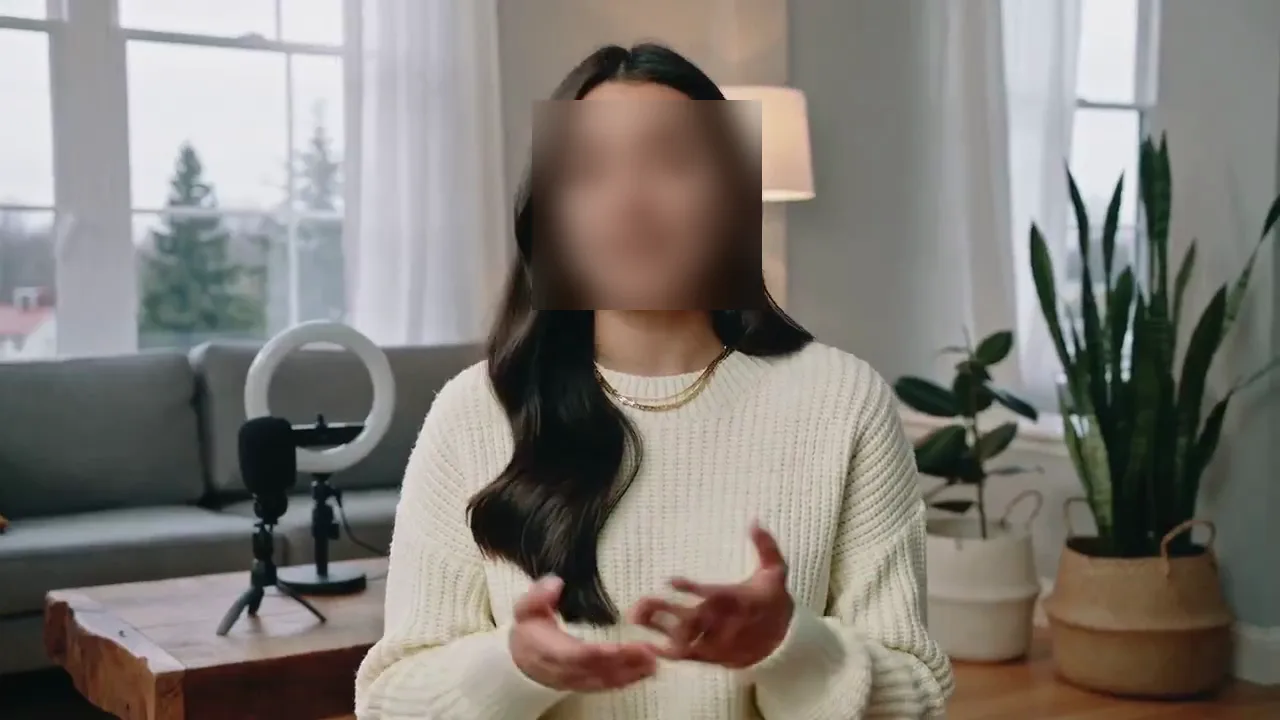
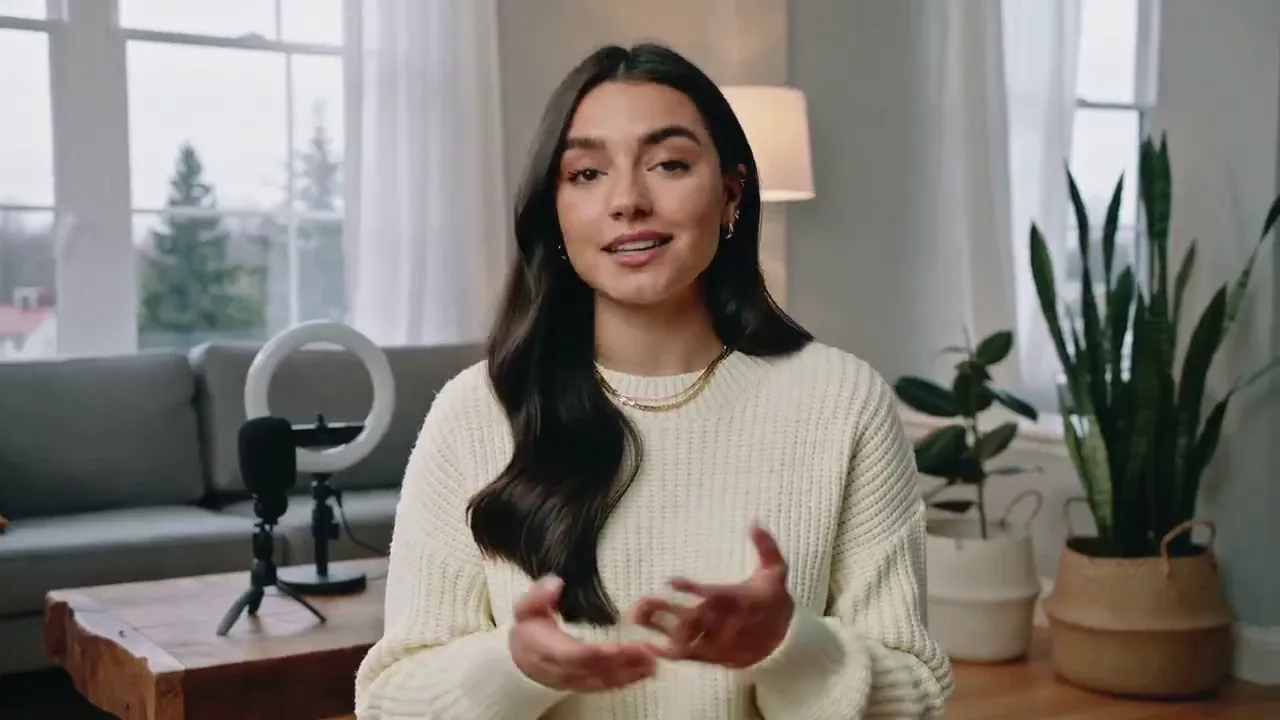
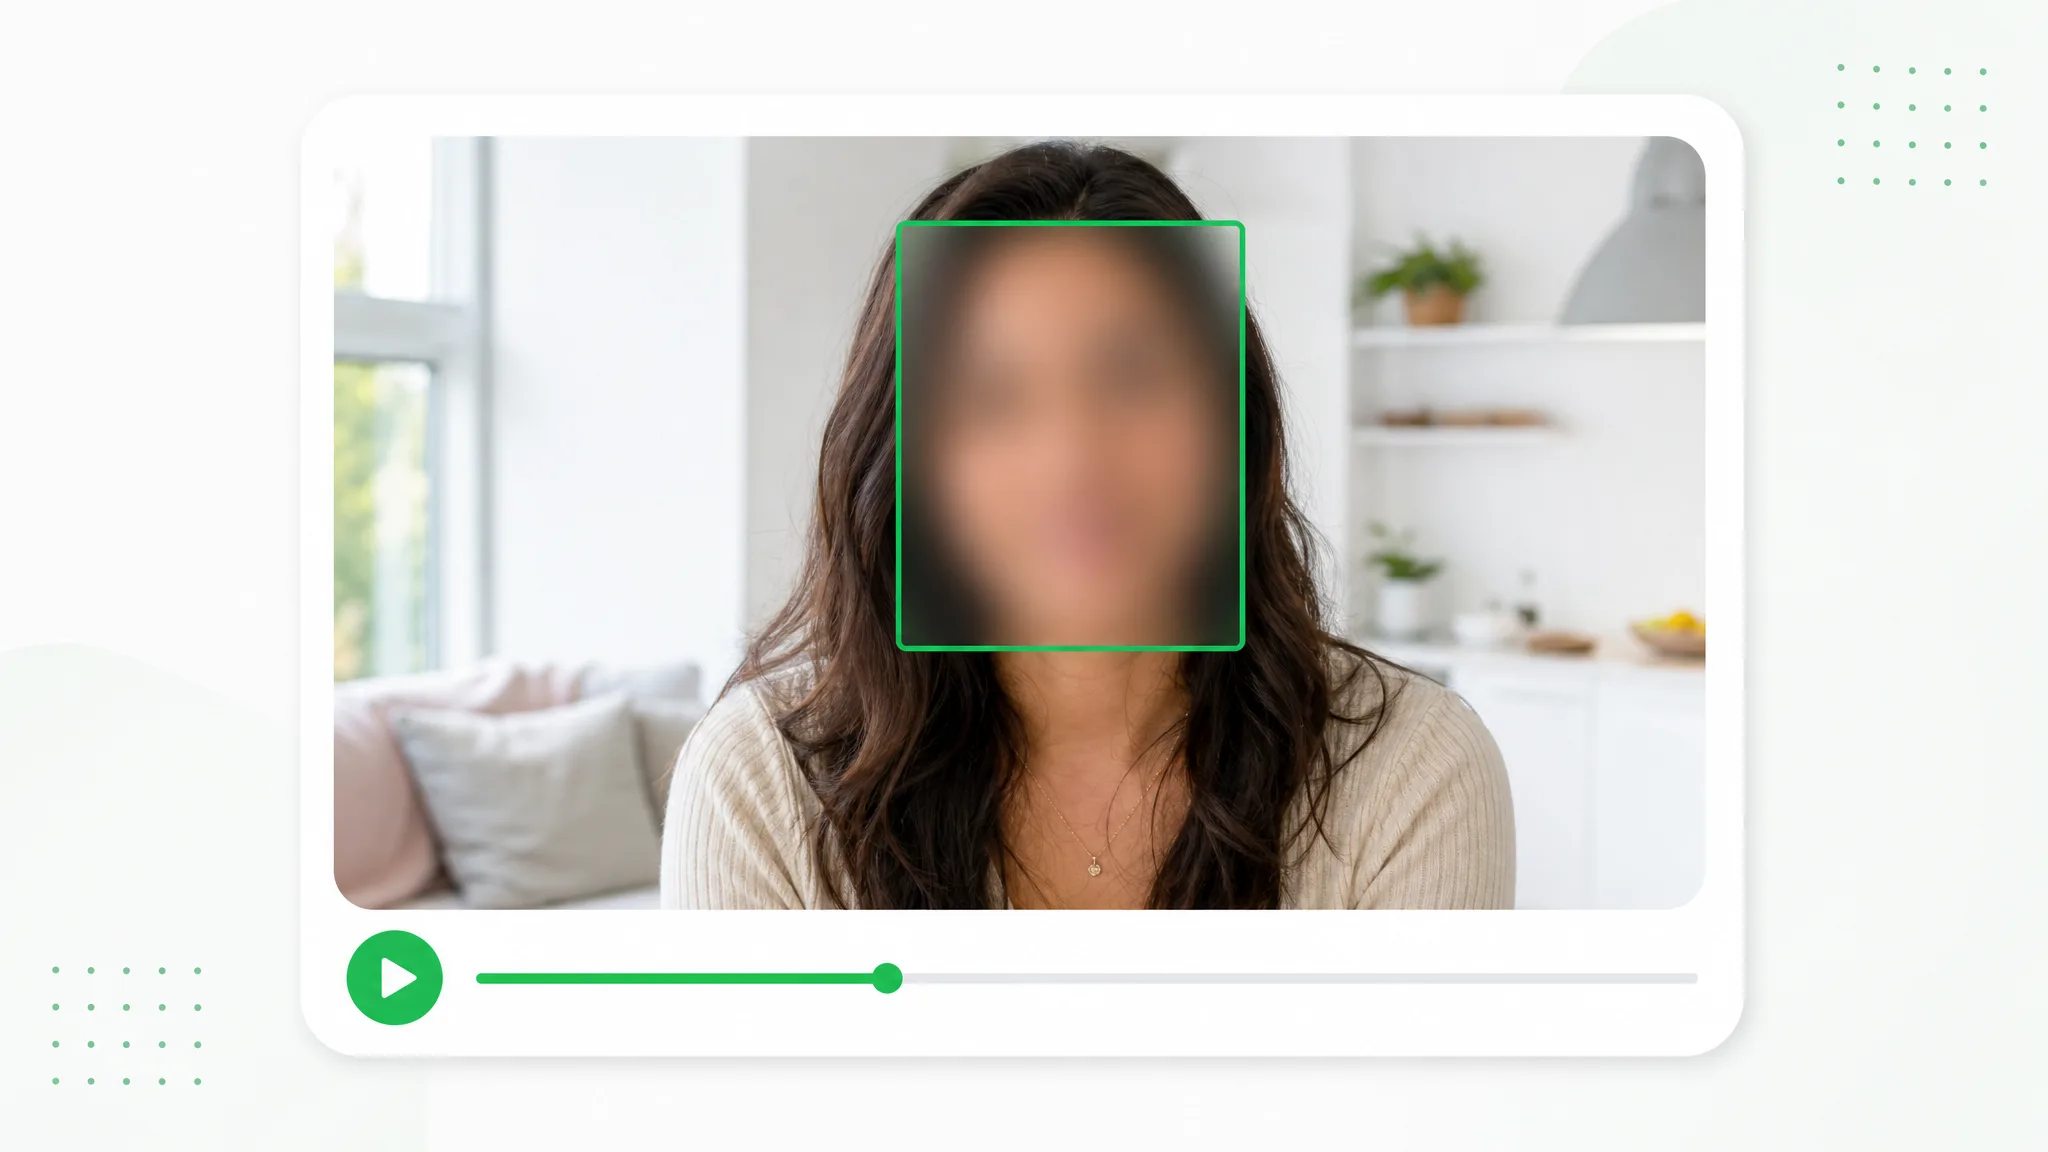
Presenter in a living room: A blur face in photo edit: one Blur box drawn by hand over her face, the room left sharp
Unedited source frame for the “Presenter in a living room” example
BeforeAfter

Presenter in a living room

A blur face in photo edit: one Blur box drawn by hand over her face, the room left sharp.

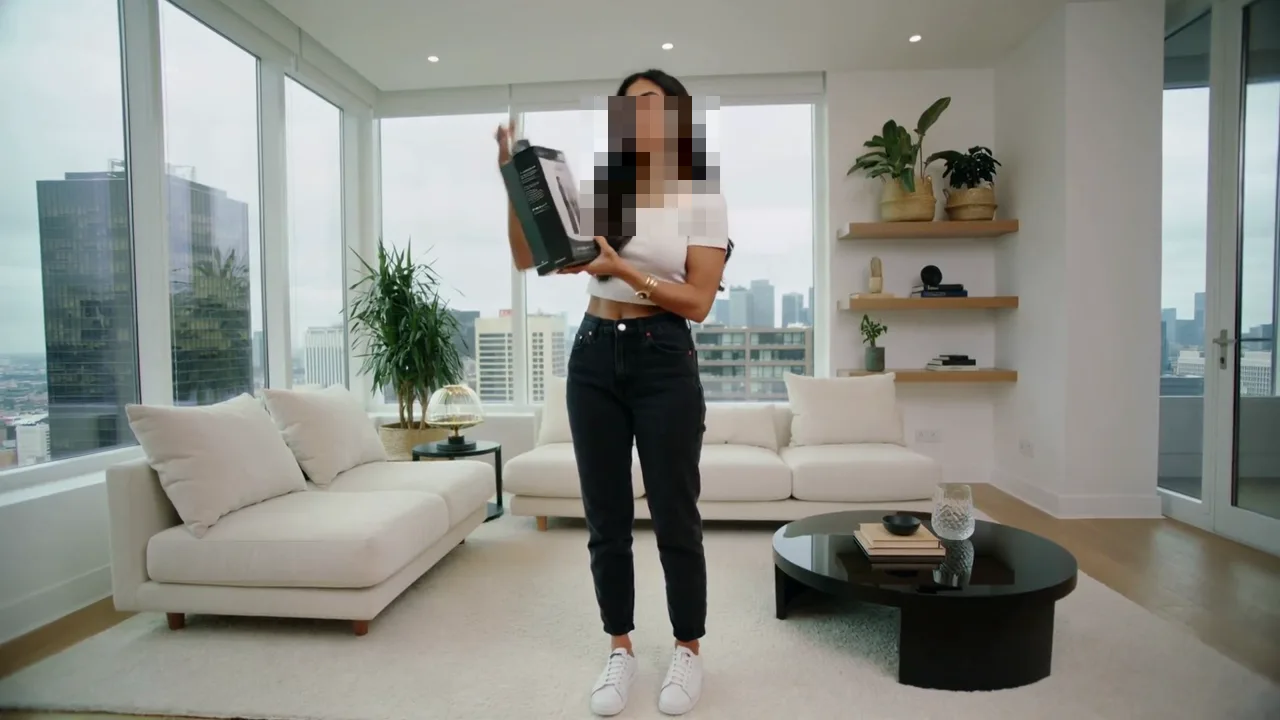
Product shot in an apartment: A hand-drawn Pixelate box hides her face while the product box she holds stays sharp
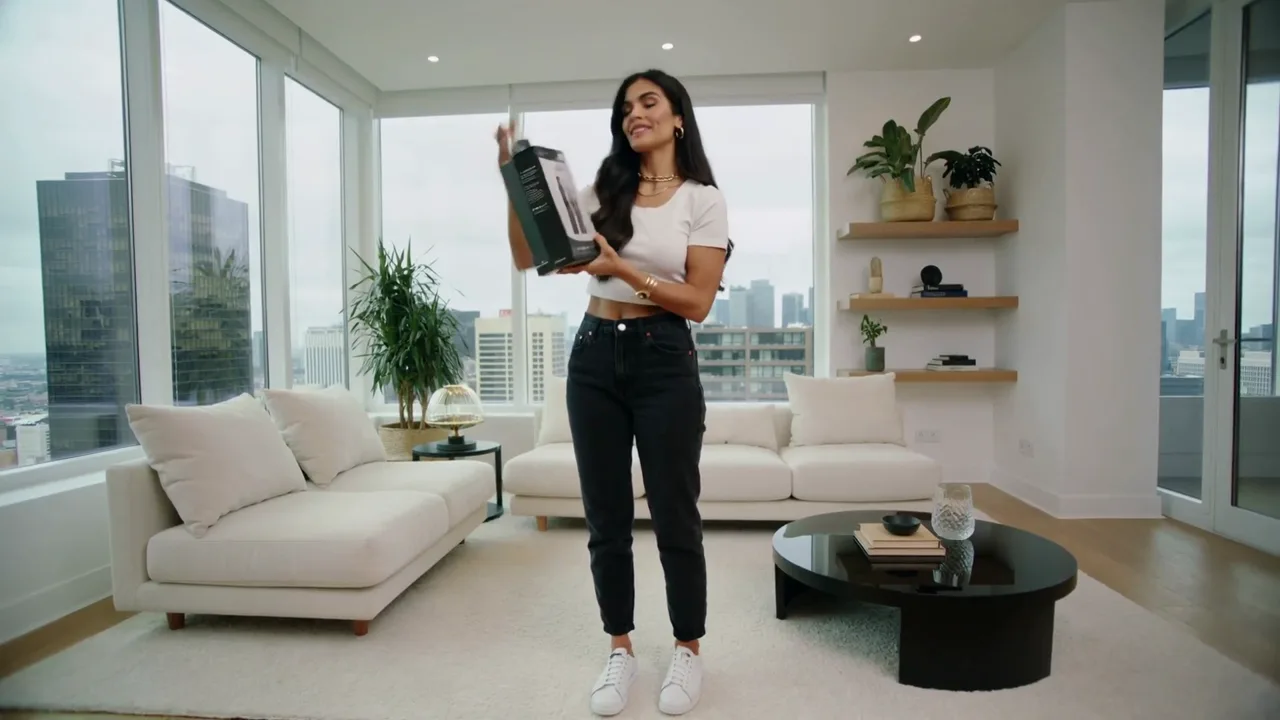
Unedited source frame for the “Product shot in an apartment” example
BeforeAfter

Product shot in an apartment

A hand-drawn Pixelate box hides her face while the product box she holds stays sharp.

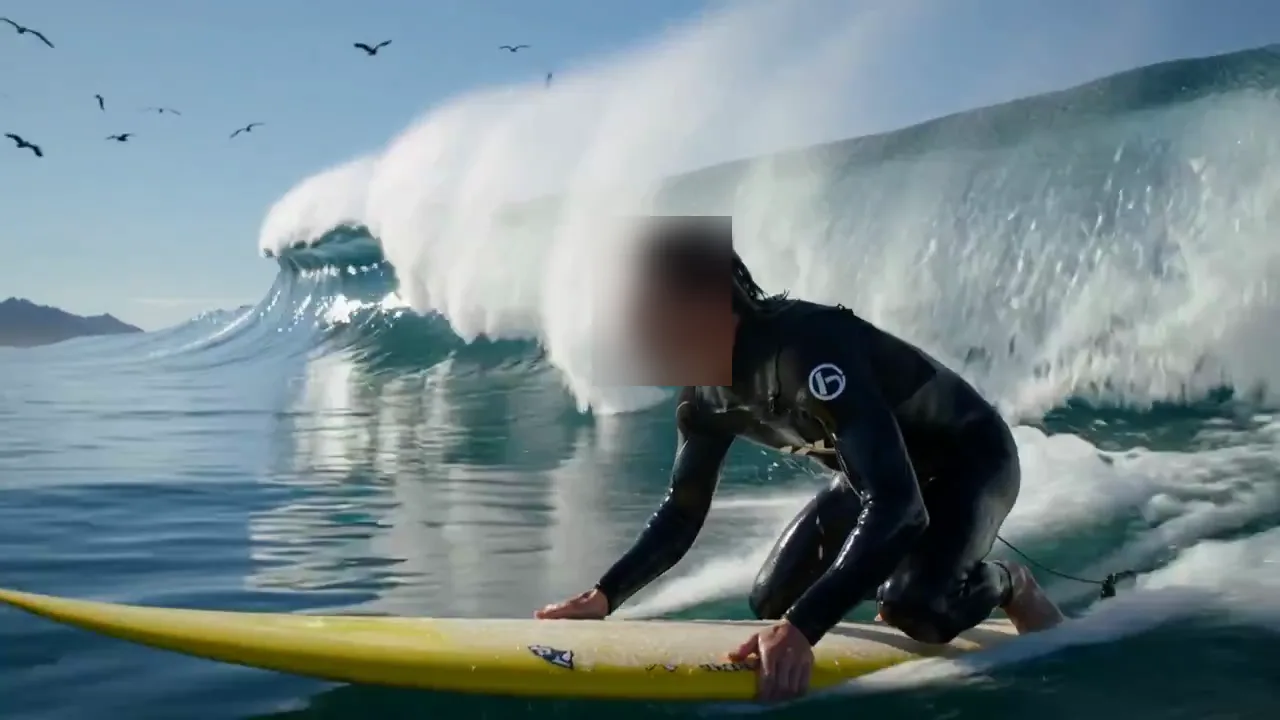
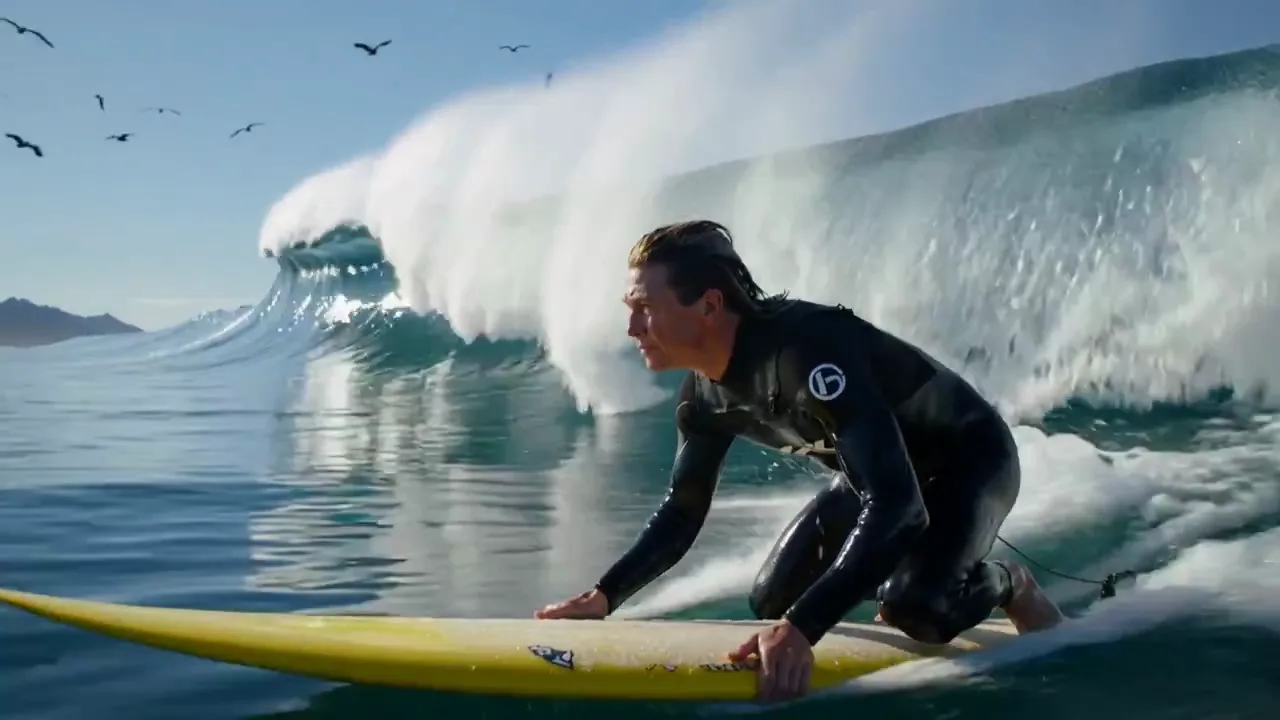
Surfer on a breaking wave: An action shot with one Blur box over the face; the board and the wave stay as shot
Unedited source frame for the “Surfer on a breaking wave” example
BeforeAfter

Surfer on a breaking wave

An action shot with one Blur box over the face; the board and the wave stay as shot.

What you control

What the Blur Face in Photo Tool Lets You Control

You make four decisions in the blur face in photo tool: how each face is covered, which faces get a box, where the editing happens and what file you take away. Each row below explains one of them.

Blur or pixelate, at the strength you set

Every box carries its own style and strength. Choose Blur for a soft cover that blends into skin and hair, or Pixelate for blocky squares that show plainly a face was hidden, then set the strength from 10 to 100. Keep it gentle for a casual post; when a blur face in photo edit is meant to protect someone's identity, push it high and compare the export.

Pick Blur or Pixelate
The same woman's portrait twice, her face blurred in one copy and pixelated in the other, each inside a green box.

A separate box for every face

Group pictures rarely call for hiding everyone. Drag one box over each person who should stay anonymous and leave the others untouched, whether that is a single stranger at the edge of a beach shot or three guests in a row. Boxes can be moved to sit squarely on a face or deleted, and the blur face in photo editor takes as many as the picture needs.

Box Each Face
A picnic group photo with three faces blurred inside green boxes while two friends stay clear.

Your photo stays on your device

Processing happens inside your browser, so the picture is never uploaded to a server, which matters most for photos of children, coworkers and ID cards. There is also no account to open, no credits to spend and no watermark, so the blur face in photo editor stays free for every image you bring to it, as often as you return.

Blur a Photo Privately
A laptop showing a family photo in a plain browser window, with a green padlock shield beside it.

A PNG or JPG with the blur saved in

Download a PNG, the default, or a lighter JPG. Both keep the original width and height, and the blur or pixelation is written into the pixels of the file rather than kept on a separate layer, so the covered faces look the same in Instagram, a messaging app, a slide deck or a printed handout.

Save a Blurred PNG
A man's portrait with a pixelated face next to an image file icon with a green download arrow.

Three steps

How to Blur Faces in Photos in Three Steps

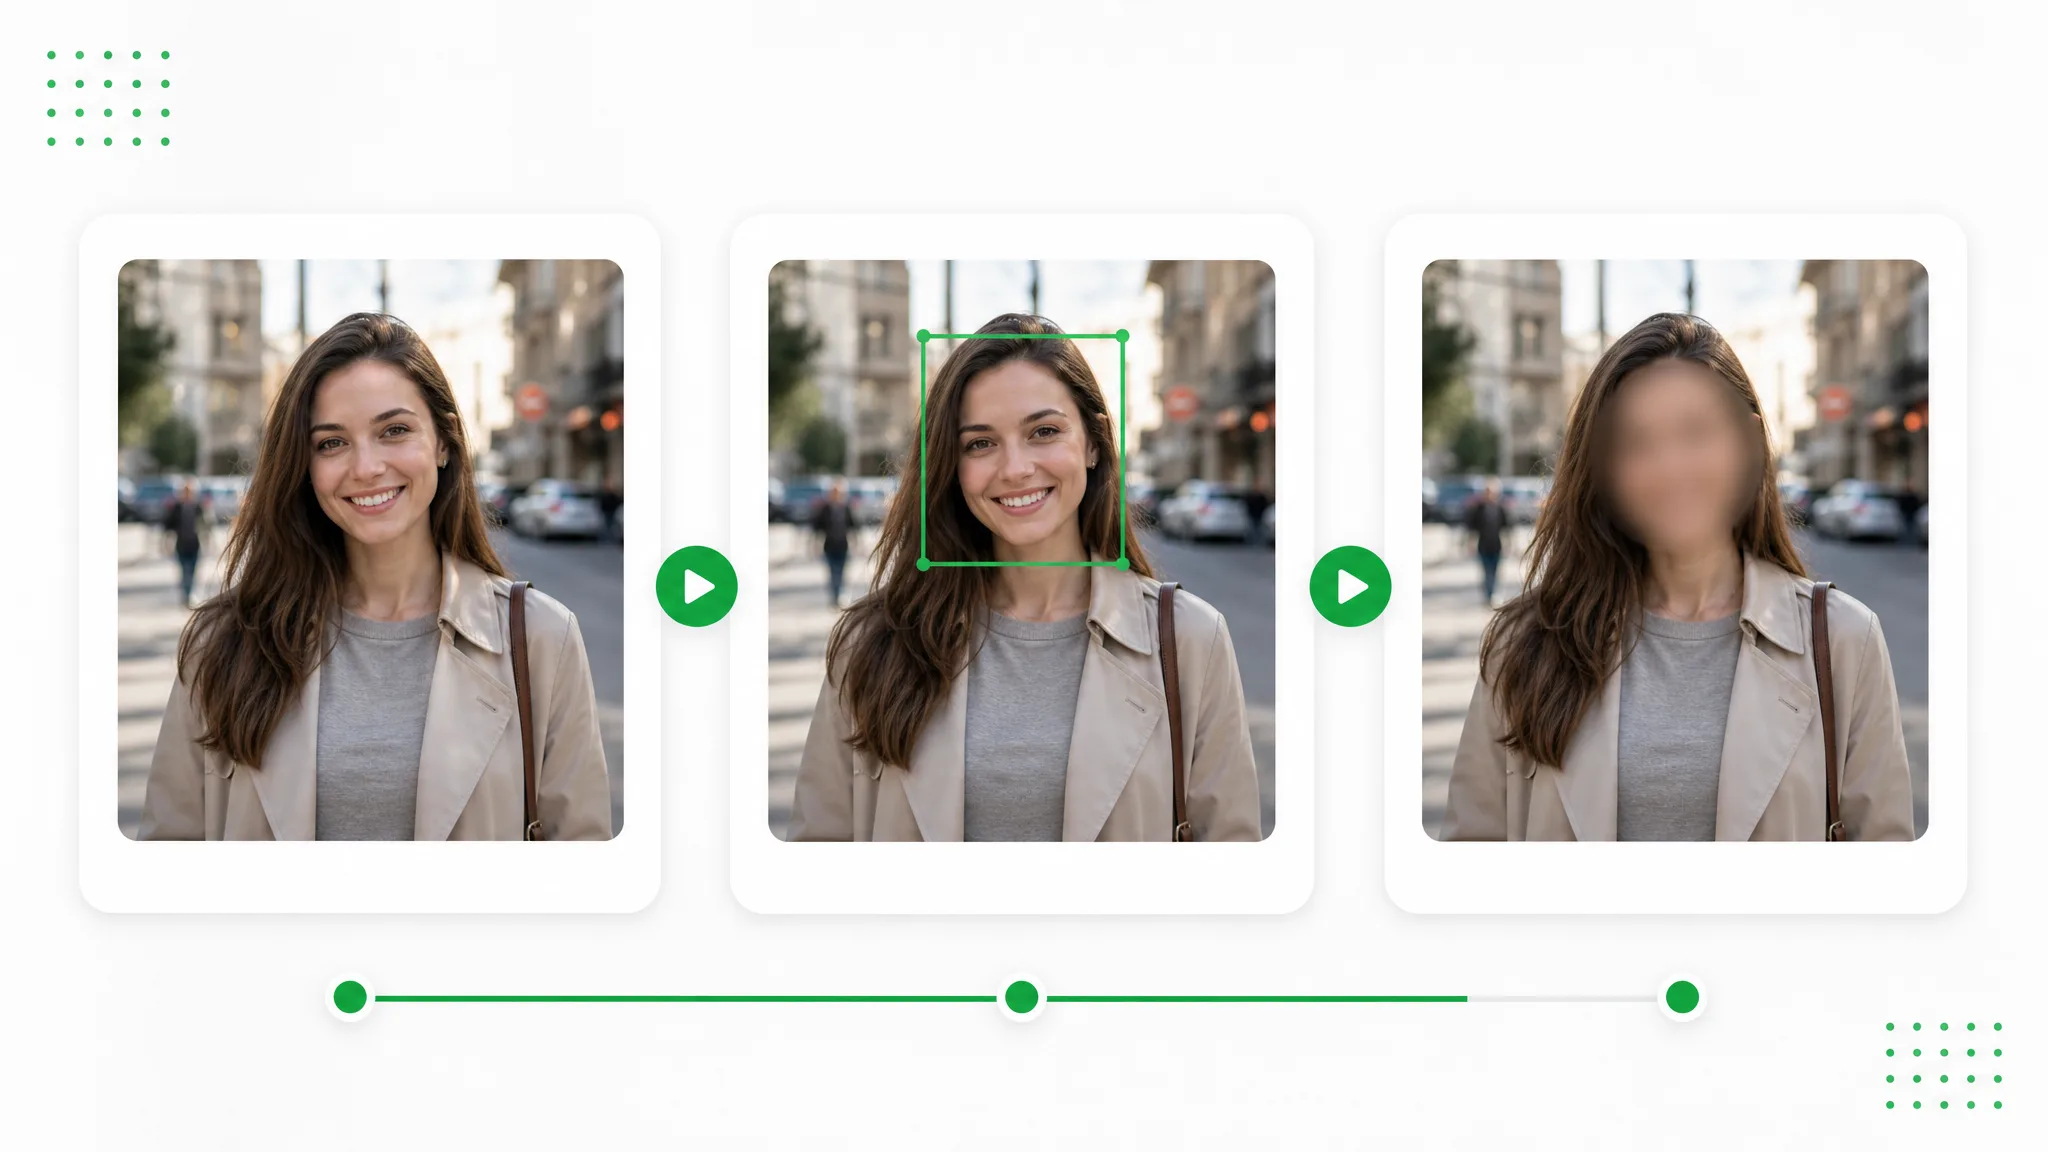
Here is how to blur faces in photos with this tool: open the picture, box each face and export an edited copy. Everything runs in your browser and ends with a PNG or JPG download.

Three panels of a smiling woman on a city street: the original photo, a green box around her face, then her face blurred.
  1. 1

    Open the photo you want to share

    Drop a PNG, JPG or WebP picture of up to 100 MB onto the upload box, or start from one of the sample images. This blur face in photo editor opens it in a preview inside your browser and keeps it on your device, so you can begin marking faces straight away with nothing sent to a server.

  2. 2

    Drag a box over each face

    Drag across a face to draw a box, then add one box for every person who should stay anonymous. Move a box to line it up with the face, or delete it and draw it again. Select any box to give that face Blur or Pixelate and a strength between 10 and 100.

  3. 3

    Export the image and check every face

    Choose PNG or JPG and click Blur & Export. Your blur face in photo result appears below the editor, and the saved file keeps the original image size, so look closely at each covered face before you download. If someone is still recognizable, raise that box's strength or switch it to Pixelate and export again.

Where it helps

When to Blur Faces in Photos Before Sharing

Blur face in photo edits matter whenever a picture includes someone who has not agreed to be seen online. These four situations are the most common.

Group selfies and party photos

A rooftop selfie with friends can include someone who would rather stay offline. Box only that one face in this blur face in photo editor, then post the group picture with everyone else still smiling and recognizable, from the same file you took on your phone.

A phone showing a rooftop group selfie at sunset, one woman's face at the edge blurred in a green box.

ID cards and documents

Before a scan of an ID card, staff badge or passport page goes to a forum or a coworker, cover the portrait with a strong Pixelate box; blur face in photo editing works on documents as well as on selfies. Add more boxes over the card number and signature, since each box covers whatever rectangle you draw.

An ID card on a wooden desk with its portrait pixelated inside a green box and no readable details.

Office and team photos

A team photo for the company blog or a LinkedIn post often catches a colleague working in the background. Box that person's face, keep your subject sharp, and your blur face in photo export is a copy you can publish without restaging the shot.

An office photo of a smiling woman in front and a colleague at a desk behind her, his face blurred in a green box.

Family pictures with kids

Many parents share family moments while keeping their children's faces private. Blur the child's face, leave the parents and the setting clear, and save a PNG for Instagram or the family blog. Raise the strength until you can no longer make out the features at full size.

A family in a park with the toddler's face blurred inside a green box and both parents left clear.

Creator stories & examples

How Others Blur Faces in Photos Before Sharing

“Our class trip photo at the aquarium included three students whose parents had opted out of social media. I opened it in the blur face in photo tool, dragged a Pixelate box over each of those three faces and pushed the strength to 90. The PNG went on the school page with the rest of the class and the shark tank still clear.”
Wendy OkoroElementary School Teacher

Questions

Blur Face in Photo FAQ

Questions people ask about the blur face in photo tool: what it does, whether it costs anything, which formats work and how strong the effect should be.

A blur face in photo tool hides chosen faces in a still image by blurring or pixelating them, then saves an edited copy. On RemoveVideoBG you draw a box over each face yourself, pick a style and strength per box, and download a PNG or JPG in which everything outside the boxes is left as it was.

Reviewed by RemoveVideoBG TeamUpdated

Try Blur Face in Photo on Your Next Picture

Pick the picture you are about to share, drag a box over each face that should stay private and save a PNG or JPG with the blur face in photo tool. It runs in your browser at no cost, ready for the next group shot or family photo.

Choose a Photo to Blur